
Removing the old shingles
Removing the old roof system and old and leaking sky lights.
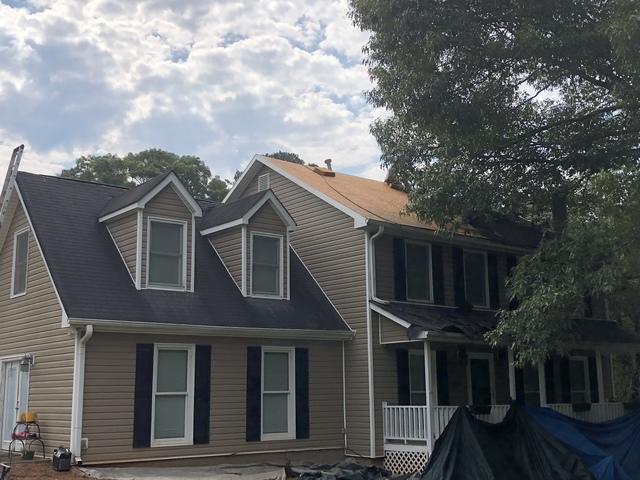
From the back yard
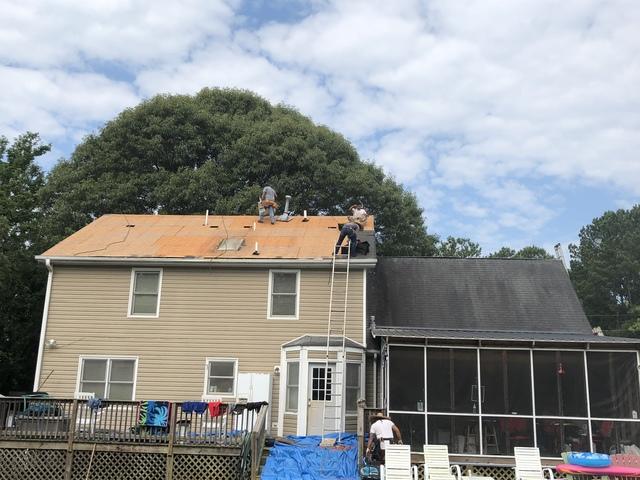
Getting down to the basics. Removing the old worn out shingles on the main living area.
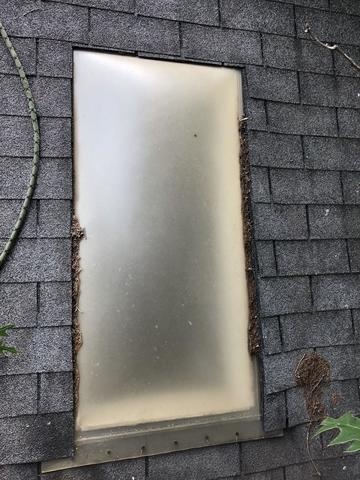
Plastic Sky Light
This is the plastic sky light and original 3-tab shingles that was installed when the house was built.
Sky Light
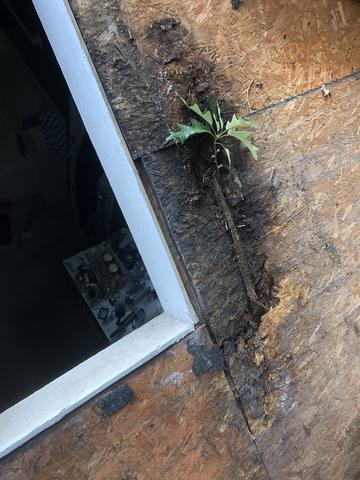
We have removed the old shingles and the old sky light. Notice the rotten wood on the bottom right side.
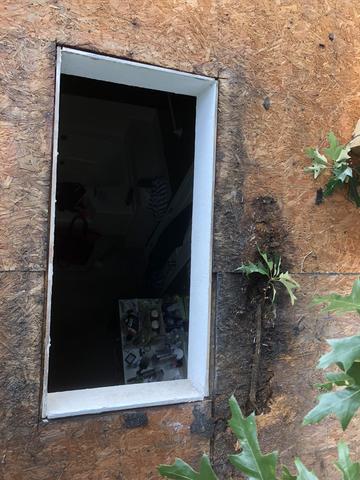
Sky Light
Here is a closer look at the damaged OSB plywood. This was caused because the old sky light had cracked and started to leak.
Sky Light
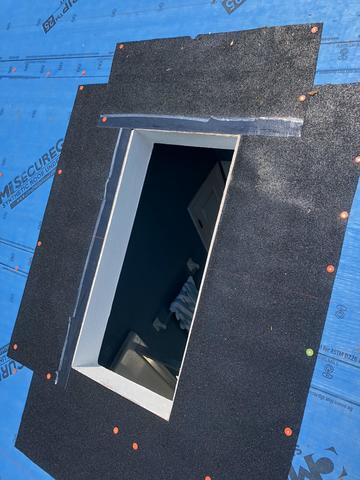
Ice and Watershield have been installed to stop any water leaks on the new Velux sky light
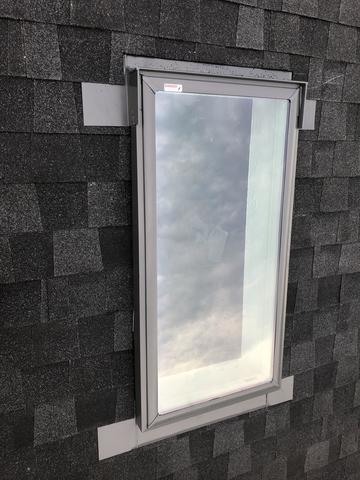
Sky Light
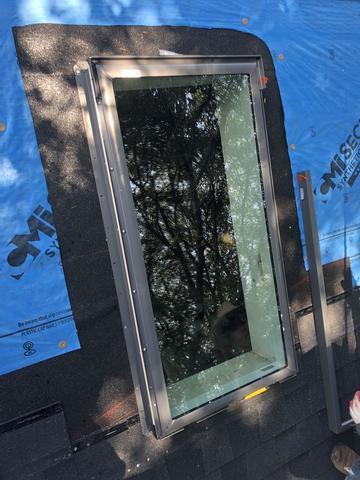
The new Velux Skylight installed.
Sky light
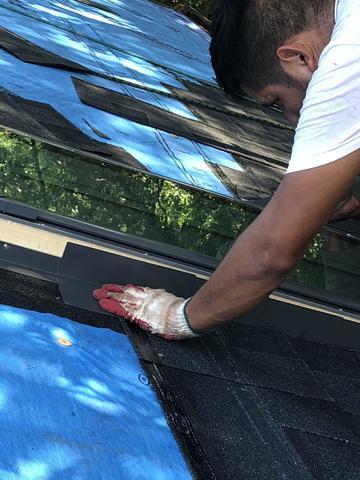
Installing step flashing to guarantee no leaks around the new sky light.
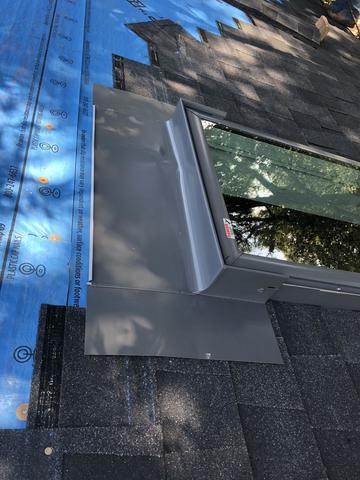
Sky light
This is a Pre fabracated piece of flashing that is installed on the top side of the sky light to guarentee no leaks.
Sky light
Newly Installed Velux Sky Light. Also, notice the new CertinTeed Landmark Architural Shingle.
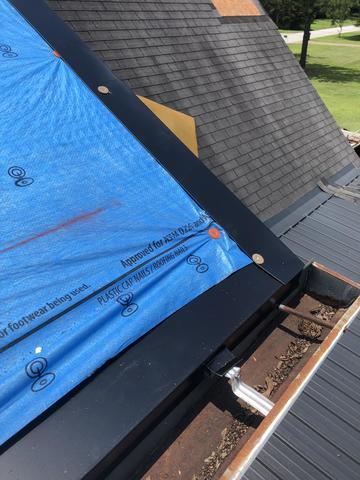
Drip Edge
New Drip Edge and Synthetic Underlayment Installed. Prep work for the new CertainTeed roof system.
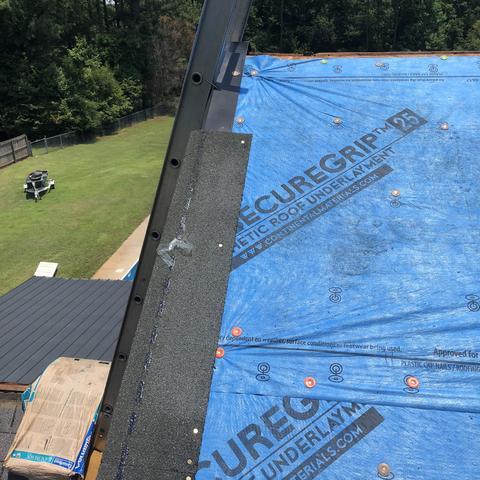
Starter Shingle
Installed Drip Edge and CertainTeed Sure Start Starter Shingle.
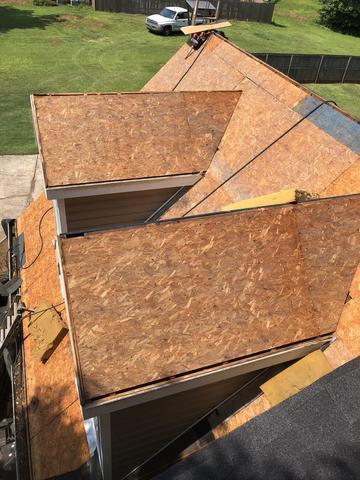
Top View
Looking down on the dormers with the old roof system removed.
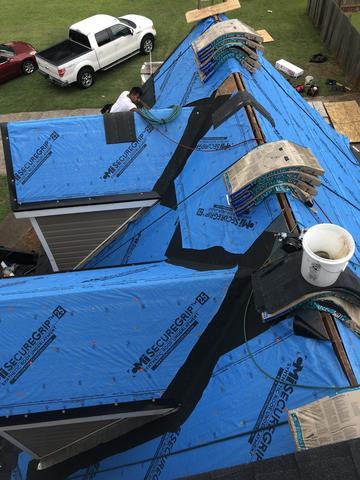
Top View
Looking down on the dormers. Notice the Ice and Water Shield in the valleys and on the sides of the dormers to guarentee against any leaks.
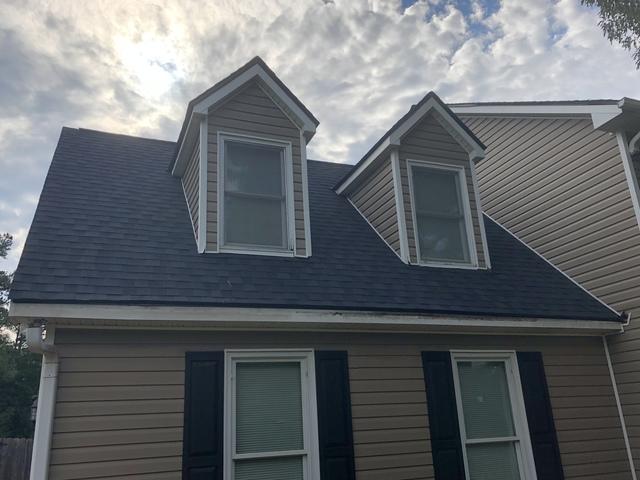
CertainTeed Landmark Charcoal Black
After the job is done. Look at how nice this new 30 year architechural shingle looks.
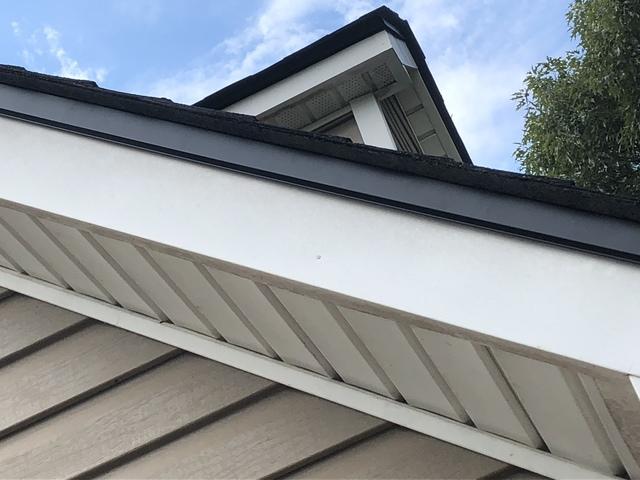
New drip edge
Drip edge

New Drip Edge
Drip edge
