
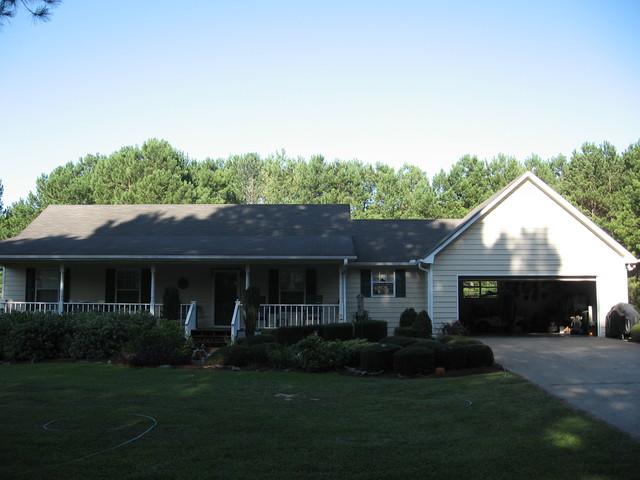
Parham Rd with the new vinyl siding installed
Before front view
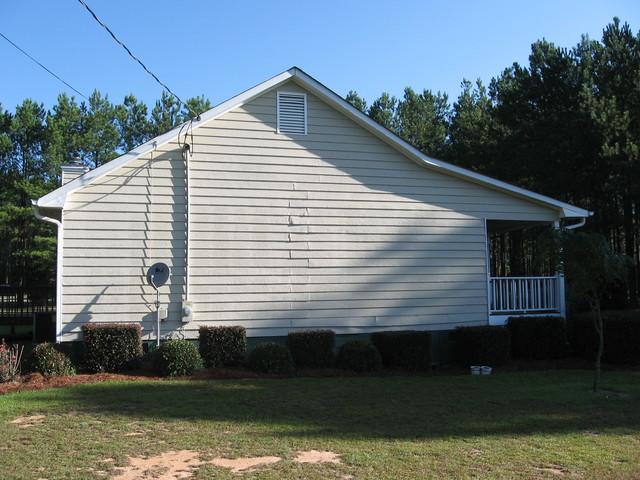
Vinyl siding before side view
Notice the staggered joints in the middle of the wall. Tha were swelling due to water damage
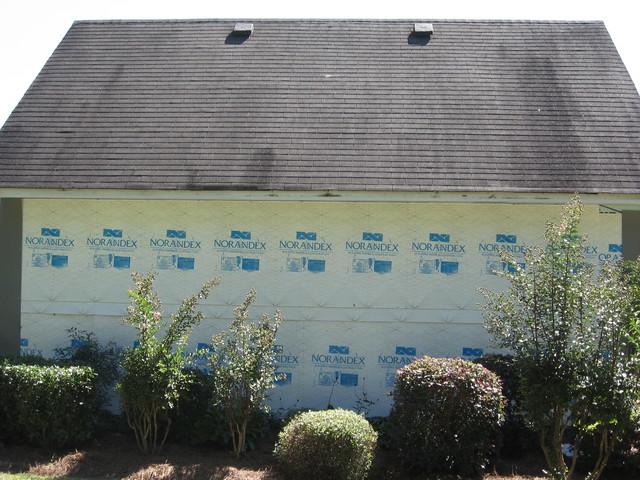
Before Vinyl Siding Side View
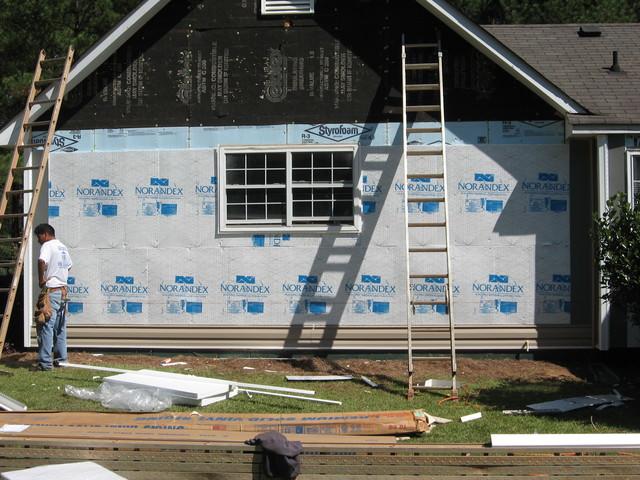
Here we have removed the old siding and installed a vapor barrior.
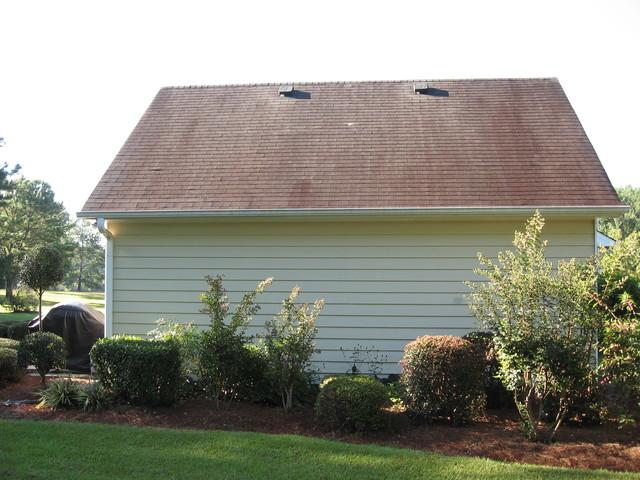
Vinyl Siding After View
We installed the new vinyl siding, vinyl soffits and aluminum fascia trim
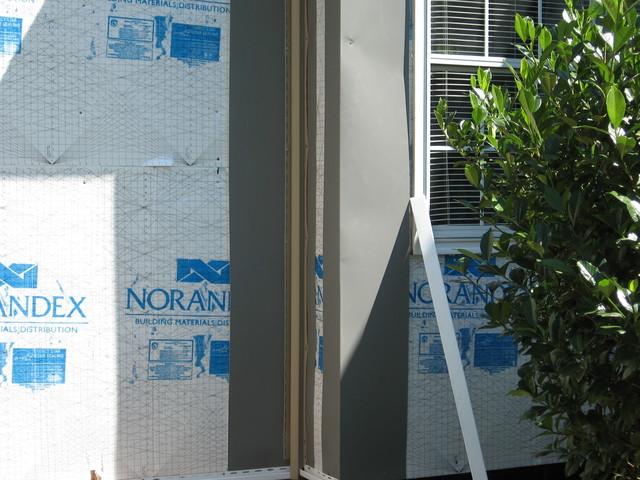
Remodel Vinyl Siding Inside and outside corners
Here we installed a 12" X 12" aluminum flashing to insure that water could not get into the inside and outside corner areas of the home.
Remodel Vinyl Siding Starter course
Installing the first row of vinyl siding on the back of the house
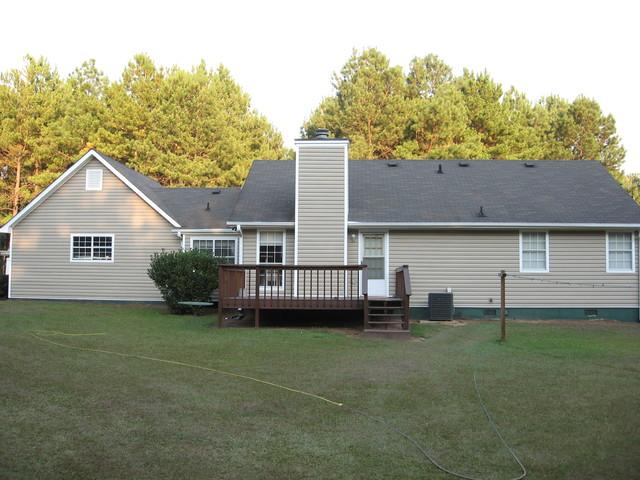
Finished view of newly installed vinyl siding
Finished view after all the siding, soffit and fascia installation is done.
